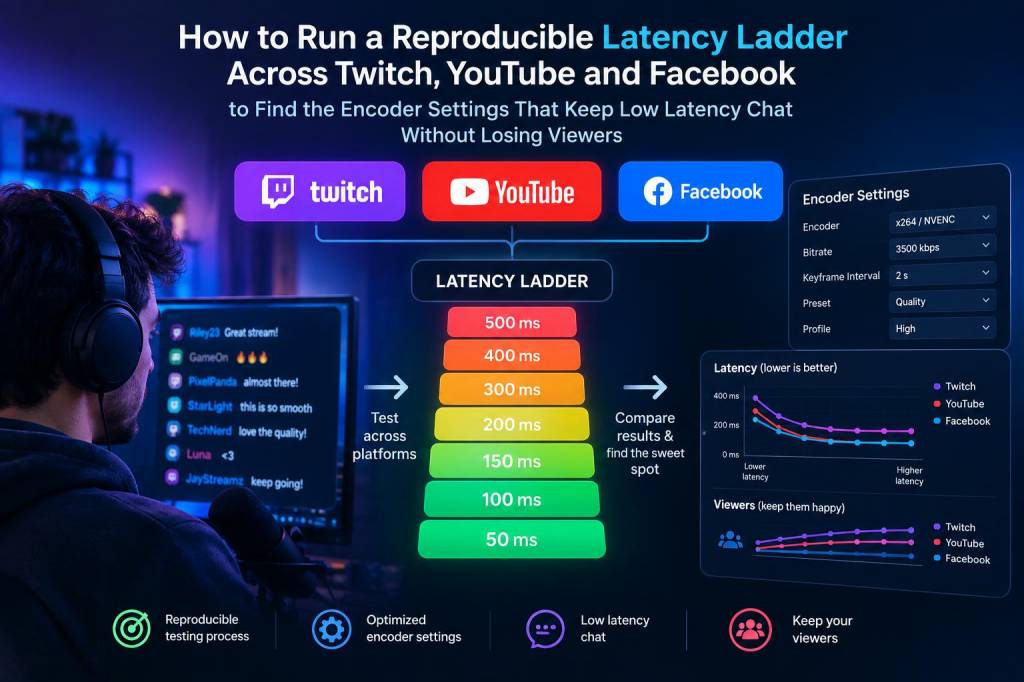
I run reproducible experiments on streaming settings all the time, and one of the most valuable tests I’ve developed is what I call a “latency ladder”: a repeatable sequence of encoded bitrates, keyframe intervals, and transport settings that I step through across platforms to find the sweet spot where chat feels near real-time without sacrificing reach or stability. In this post I’ll walk you through how I set up and run a latency ladder across Twitch, YouTube and Facebook, what metrics I record, and the practical trade-offs to expect. This is a hands-on workflow you can run in a single session or automate across multiple sessions to build a data-driven encoder profile for your channel.
Why a latency ladder matters
Latency isn’t just a number — it shapes viewer experience, interaction, and monetization. Low latency helps chat-driven content (Q&As, live auctions, multiplayer streams) feel alive. But pushing latency too low can force aggressive encoder or transport settings that increase dropped frames, stream disconnects, or quality degradation, which in turn drives viewers away. The latency ladder gives you a reproducible map of how settings affect
- end-to-end delay (streamer → viewer)
- viewer retention during test periods
- error conditions (dropped frames, reconnects)
Core components of the test
Before you start, make sure you have a consistent environment. That means:
- A stable network connection (wired Ethernet preferred). I test on at least two connection profiles if possible: my normal home fiber and a constrained upload (e.g., tethered 4G).
- A capture and encode setup you normally use (OBS Studio, Streamlabs Desktop, or a hardware encoder such as an Elgato or Atem Mini). I usually use OBS for flexibility.
- Minimal background traffic — close cloud sync, large uploads/downloads, and heavy smart home traffic.
- Test assets: a short scripted segment (gameplay clip, talking-head bit, or recorded loop) you can replay so content is identical between runs.
Designing the latency ladder
I design the ladder to isolate three variables that most impact latency and stability:
- Encoder settings: bitrate, profile (baseline/main/high), and rate control (CBR vs VBR).
- Keyframe/ GOP interval: 1s (common for low-latency), 2s, 4s.
- Transport & platform options: platform “low latency” toggle, protocol (RTMP, SRT, RTMPS variations), and per-platform ingest region.
Typical ladder steps I use in a single session (you can expand or compress this):
| Step | Bitrate (kbps) | Keyframe (s) | Profile | Expectations |
|---|---|---|---|---|
| 1 | 1500 | 2 | main | Baseline stability, moderate latency |
| 2 | 2500 | 2 | main | Better video, similar latency |
| 3 | 2500 | 1 | main | Lower latency candidate |
| 4 | 4000 | 1 | high | High quality, test limits |
| 5 | 1500 | 1 | baseline | Low-resource low-latency |
Step-by-step: running the ladder
Here’s the exact procedure I use so results remain comparable across platforms and sessions.
- Prepare your test asset: load a 5–10 minute recorded loop. Use the same loop for every step so encoder work and scene complexity are constant.
- Set platform to a known ingest: choose the same ingest region for Twitch, YouTube, and Facebook if possible. Note if you’re testing platform low-latency toggles (some platforms let you pick “Low Latency” or “Ultra Low Latency”).
- Start step 1: apply the encoder settings for the step, start streaming to a private/unlisted stream on each platform (or use separate test accounts if you prefer). Run the loop for 5 minutes.
- Record metrics while streaming: I log end-to-end latency, dropped frames, CPU/GPU utilization, and concurrent viewers (if applicable). Use a stopwatch or timestamped chat messages to measure latency: send a unique chat message and note the delay until it appears on the stream. Platform dashboards often show latency too — but chat timestamps are more consistent.
- Observe viewer behaviour: if you have a small test audience, note message frequency or retention. For public tests, look at the first- and fifth-minute viewer counts for small drops during a test step.
- Repeat for each ladder step, allowing a 30–60 second warm-up between changes for platform ingest to stabilize.
What I measure and how I log it
Consistency in logging is the backbone of a reproducible ladder. My basic CSV columns are:
- platform
- step_id
- bitrate_kbps
- keyframe_s
- encoder_profile
- avg_latency_s (chat)
- max_latency_s
- dropped_frames
- cpu_percent
- viewer_delta_first5
- notes (connectivity blips, OBS warnings)
I also capture a video clip of the streamed output from a viewer perspective for visual quality checks later — you’ll thank yourself when you need to compare compression artefacts.
Interpreting results: the trade-offs
Once you have a dataset across platforms, look for patterns:
- If latency drops but dropped frames increase, you’re pushing encoder/transport too hard — consider increasing bitrate or relaxing keyframe to 2s for odd/even alignment with platform chunking.
- If latency is similar across bitrates, platform-side buffering may dominate; try toggling the platform’s low-latency mode or switch ingest region.
- High CPU usage with high quality settings suggests offloading encoding to a hardware encoder (NVENC, QuickSync) or using a faster preset.
- Viewer retention changes matter more than tiny latency gains. A consistent drop in viewers when moving to ultra-low-latency is a practical signal to back off.
Platform-specific tips
Twitch: Twitch’s “Low Latency” setting is usually sufficient for chat interaction. If you need even lower latency, bin Twitch’s normal ingest in favour of the “Ultra Low Latency” route via RTT-aware ingest or using SRT with very small buffers, but expect trade-offs in rebuffering for viewers on weak connections.
YouTube: YouTube’s latency modes (Normal, Low, Ultra Low) are aggressive on buffering. Ultra Low usually gives the lowest end-to-end delay but can penalize quality and viewer buffering. With YouTube, keyframe=1s helps a lot.
Facebook: Historically more conservative, Facebook often buffers for stability. Test with a slightly higher baseline bitrate and 2s keyframe first, then try 1s for latency-critical streams. Their mobile audience may be more sensitive to quality changes.
Automating and scaling the ladder
Once you have a working ladder, you can automate parts of it. OBS has a websocket plugin that lets you change bitrate and keyframe via scripts; combine that with scheduled private streams and a simple script to parse chat timestamps and produce latency reports. For teams, trigger the ladder nightly on an isolated account to detect regressions (ISP changes, platform updates).
Finally, remember this is an ongoing experiment. Platforms change, encoders get updated, and your audience’s device mix evolves. Run the ladder every quarter or after any major infrastructure change, and keep the dataset so you can make decisions based on trends rather than a single session’s noise.