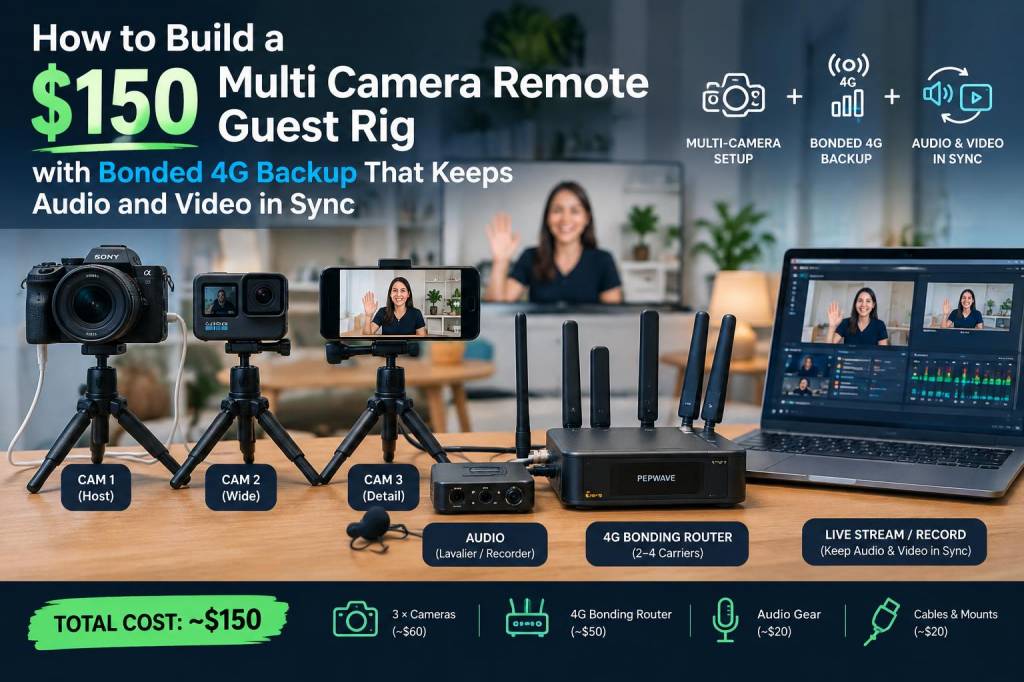
I’m going to walk you through a practical, low-cost way to give a remote guest a multi-camera setup that stays reliable on cellular and keeps audio and video in sync. I’ve built and tested versions of this rig for interviews, remote panels and field shoots: the goal is simple — inexpensive parts, a smooth experience for the guest, and a fail-safe bonded 4G path so the call doesn’t drop when home Wi‑Fi sputters. The total hardware spend I target here is around $150, with optional subscription software for bonding if you want stronger redundancy.
Why this approach
Commercial bonded systems (LiveU, TVU) are brilliant but expensive. For most creators, you can get professional-feeling results by combining: (1) two consumer cameras (usually phones), (2) a single good microphone for one authoritative audio source, and (3) smart use of WebRTC-based tools like VDO.Ninja (formerly OBS.Ninja) and a bonding tool such as Speedify or a second phone hotspot for backup. WebRTC gives low latency and good A/V sync by default, which removes a lot of headache when you have multiple camera angles coming from the same guest.
What “multi-camera” means here
By multi-camera I mean the guest can send two distinct video angles (example: wide and tight) and one clean audio feed. The host/producer (you) switches between the angles in your production software (OBS, vMix, Streamlabs). The guest equipment is intentionally minimal: two smartphones and one USB microphone or lavalier. If your guest already has one phone and a laptop, you can expand without much extra cost.
Parts list and rough costs
| Item | Example | Estimate |
|---|
| Smartphone (primary camera) | Guest’s phone or cheap replacement | $0–$60 |
| Smartphone (secondary camera or hotspot) | Old phone or cheap Android | $0–$50 |
| USB lavalier or condenser mic (plug into phone/laptop) | BOYA BY-M1 / cheap USB mic | $15–$40 |
| Small tripod / phone clamp | Amazon basic phone tripod | $5–$15 |
| Optional: USB-C/OTG adapter or lightning adapter | For phone mic connection | $5–$10 |
| Optional: Speedify subscription (bonding) | App-based channel bonding | $8–$20/mo |
Total ≈ $15–$150 depending on what the guest already has. The hardware baseline assumes using two phones they already own and buying one inexpensive mic and a clamp.
How the system works — high level
Each phone runs the guest camera app (Web browser to VDO.Ninja works well). VDO.Ninja creates a WebRTC feed per device, so latency is low and the browser negotiates A/V sync.The guest chooses one phone to capture audio (that mic is considered the “master” audio). That audio is attached to the main camera feed or sent as its own VDO.Ninja audio-only feed.One phone is dedicated as a cellular hotspot backup if their Wi‑Fi fails — or, better, they run a bonding app (Speedify) that combines their home ISP and 4G in parallel.You (the producer) receive multiple browser sources in your studio (OBS or browser source). You switch cameras like any multi-cam setup. Because WebRTC handles A/V sync and all camera feeds originate at the same location, sync drift is negligible.Step‑by‑step setup for the guest
Position phones: wide on a tripod, tight on a clamp. Keep both stable and well-lit. I ask guests to avoid electronic stabilizers that can introduce small frame delays.Connect mic: plug the lav into the phone you want to be the audio master. For phones lacking TRRS jacks, use the USB or lightning adapter. Test audio locally first.Open VDO.Ninja: on each phone, open the browser and go to VDO.Ninja. Create a “camera” for each phone. For the mic phone, either enable audio on that camera or create a separate audio-only tile so I can choose it as the reference.Network arrangement: have the guest connect phones to the home Wi‑Fi. If possible, enable the second phone as a hotspot or activate Speedify on the main phone to bond Wi‑Fi + 4G. If they use a hotspot phone, connect the camera phone to home Wi‑Fi and the second phone runs as backup hotspot to switch to if Wi‑Fi drops.Share links: VDO.Ninja gives a unique room link and per-camera invite links. I ask the guest to paste each camera’s link into chat or copy-paste both to me so I can open the sources on my side.Do a sync test: ask the guest to clap loudly into the mic while moving the hand in front of the camera — like a clap slate. This gives an audio spike and a visible motion spike so I can check and, if necessary, nudge timing in my switcher.Keeping audio and video in sync
I rely on three principles to keep A/V sync consistent:
One authoritative audio source — always. Route only one mic into the production mix. Multiple mics on different devices introduce drift and echo.Use WebRTC-based capture (VDO.Ninja) rather than traditional Zoom-like clients for camera feeds. WebRTC is built for low latency and tight A/V sync, and VDO.Ninja exposes separate audio-only feeds if you want a cleaner route for sound.Perform a visual/audio slate at the start. If you must fine-tune in OBS, you can nudge a source’s audio delay in milliseconds. But because both camera feeds start in the same local network and originate simultaneously, you rarely need long corrections.Bonded 4G backup — options
There are two affordable routes:
Manual failover: Have a second phone configured as a mobile hotspot. If home Wi‑Fi drops, the guest switches the primary camera phone to the hotspot. This is lowest cost but requires the guest to act.Automatic bonding: Use an app like Speedify on the camera phone(s). Speedify creates a bonded VPN that aggregates Wi‑Fi + 4G and keeps the session alive across network changes. It’s not perfect but dramatically reduces dropouts and can be used for live streams. Expect a small monthly fee.For reliability without subscription: teach the guest how to quickly toggle tethering and have the producer ready to pause or mute briefly while switching. For a more hands-off solution, Speedify is my recommendation.
Production-side setup (what I do)
Open each VDO.Ninja camera as a browser source in OBS. I label sources clearly: Guest_Wide, Guest_Tight, Guest_Audio.Route Guest_Audio into a dedicated audio bus and apply a gate/comp to reduce room noise. Because the mic is lavalier, I rarely need heavy EQ.I create a small “reconnect” scene with a courtesy card in case the guest loses connection and I need to fill time while they move to hotspot/bonding. It reduces panic in the moment.Record locally at the host end whenever possible — even if streaming. That recording will be the highest quality if a guest’s upload jitter caused any glitch in the live stream.Troubleshooting quick wins
If video lags but audio is fine, double-check the guest isn’t using heavy camera apps that add processing (portrait mode, stabilization). Switch to a plain browser camera feed.If audio and video drift slowly over long sessions, force-restart the guest camera’s browser and rejoin; WebRTC renegotiation often resolves drift.If cellular bonding causes odd delays, test without bonding and compare. Sometimes a single strong 4G connection is better than poorly aggregated links.This setup won't replace broadcast-level bonded units, but for interviews, panel guests, and creator collabs, it delivers reliable multi-camera coverage and a credible bonded fallback without breaking the bank. When I deploy it live, the guest experience is tidy — two clean angles, one clean mic, and a plan for the moment the internet hiccups. If you want, I can share a downloadable checklist and an OBS scene collection I use to make assembling this on-the-fly even faster.